Simple Stylized Environment

I recently watched the anime film Blame! on Netflix and really enjoyed some of the artwork, especially the environments.

So I spent a little time with Blender 3D and the default cube to create a very simple, stylized environment in the same vein.

Rendered image.
Rendered with Cycles at 512 samples/pixel. Render time: 40 minutes.

To make the floor and ceiling, I scaled the default cube in different ways and duplicated it, many many times (about 1600 total cubes, I think). The environment is lit using three area lights – one far out in the distance, one above the ceiling to add more ambient light, and a fill light coming from near the camera.

The character is from Mixamo.com, a resource from Adobe for free fully-rigged characters (and even some pregenerated animations). I added an extra spotlight to the scene to add some focus to that character.

Finally, I used some compositing nodes to complete the scene. The “bright light” in the distance was added in the compositor using an Alpha Over node to add a bright color, and some additional blur to complete that effect. I used a Mist Pass to fake some atmospheric haze. I added a little Lens Distortion to better mimic a wide-angle lens. And lastly I added a RGB Curves node to make some final color adjustments.

It was fun putting together a full composition, even if the elements were actually pretty simple. The scale of the scene created the biggest challenge, which was lighting. The distant area light, for instance, is 15km wide and puts out 200 MW of power! I still think the lighting could be improved, but I’m happy with this fun little test.

Blender Cel Shading in Eevee

One of my interests in 3D is generating cel-shaded images and animations. Blender supports cel (aka toon) shading and other non-photorealistic (NPR) shading methods through clever uses of node networks. If you’re using the Cycles render engine, you can even use the built-in Toon Shader.

But the Blender comes with a real-time render engine, Eevee, and it would be great to combine its fast render times with a cel-shading solution. Unfortunately, the Toon Shader BDSF only works with Cycles (as of v2.82), but there are some workarounds for using Eevee.

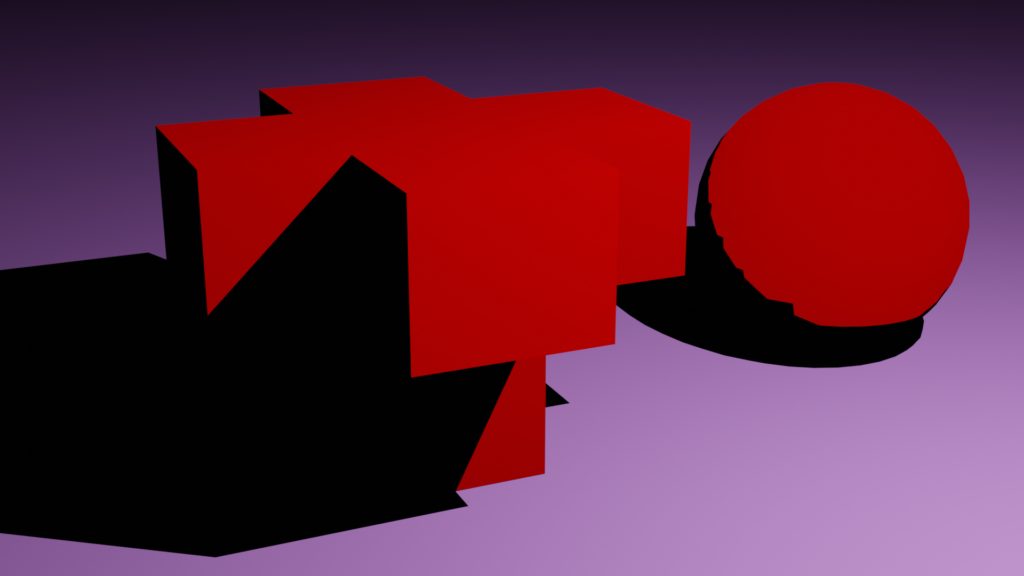
For reference, I rendered this image with Cycles with no light bounces. Both objects use the same single Toon BSDF shader and the ground plane uses a Principled BSDF. This one frame took over a minute (1:06) to render.

Toon-shaded render using Cycles.
Continue reading “Blender Cel Shading in Eevee”
Blender Volumetrics Part 2

After experimenting with some outdoor volumetric effects, I switched to some indoor experiments with volumetrics.

My test scene is lit with a HDRI image outside for global illumination and a single Sun lamp to add some directional light coming in through the window. I also added an area light in the window configured as a portal, to improve performance of the HDRI lighting inside the room.

Scene rendered without volumetrics
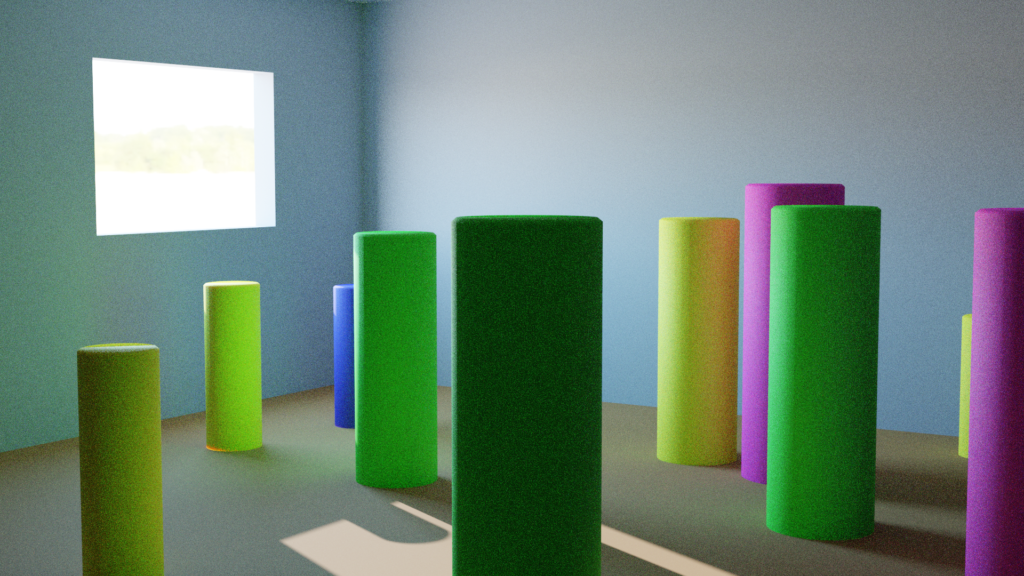
No volumetrics yet. Render time: 5:41 at 512 samples per pixel
Continue reading “Blender Volumetrics Part 2”

Blender Volumetrics Part 1

One of the more interesting effects in 3D programs is volumetrics, which gives the ability to add mist, fog, atmosphere, god rays, and more to a scene. When I played around with LightWave and Maya in the past, I experimented with volumetrics but they came with a cost: significantly increased render times.

I started playing with some volumetric solutions in Blender 3D and unfortunately that cost has not gone away. When using full-blown volumetric effects, the render times go up 10 times or more.

In this first look at volumetrics, I am limiting my experiments to a quick outdoor scene I created, where I attempt to add an atmospheric light-scattering effect.

Continue reading “Blender Volumetrics Part 1”

Blender Motion Blur

I started playing around with Blender 3D around the time 2.80 came out last year, and I am very impressed with the software. Although I haven’t dedicated enough time to it the last six months, I’m starting to focus more on learning the ins-and-outs of the software.

I’ve gone through some tutorials (including the entire donut tutorial, which I highly recommend if you’re trying to learn the software), so I feel pretty comfortable with the basics. Now I’m starting to play around with miscellaneous features, which will also give me more practice in the software. I plan on posting some of my experiments with Blender features here, as I learn about them.

No motion blur
No motion blur yet…

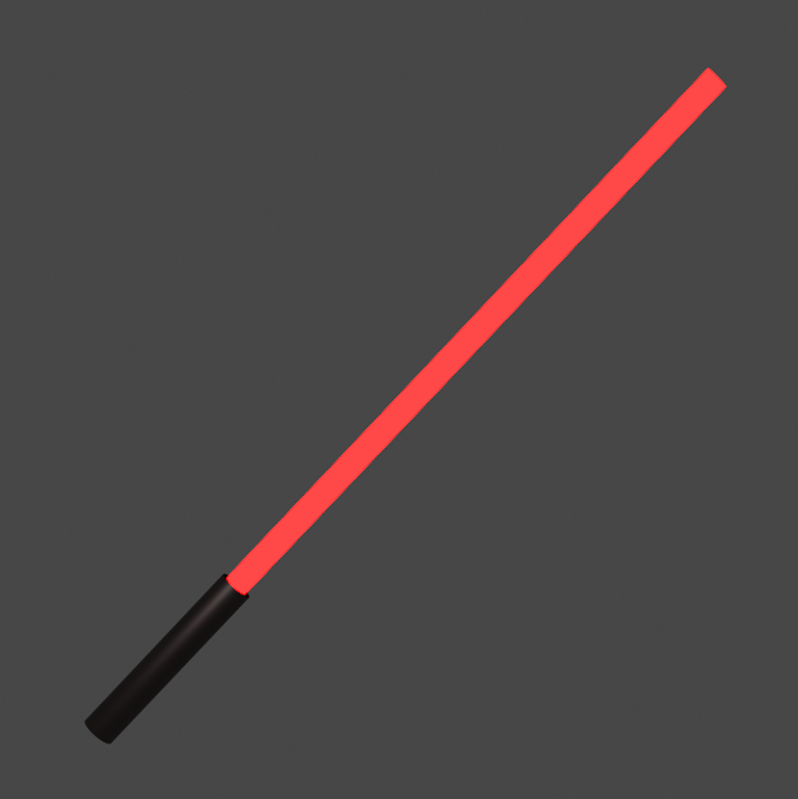
First up: motion blur. This feature is pretty simple to play with, so I set up a very basic scene. It’s basically a light-saber, with a simple black handle and a cylinder “blade” with an emission shader.

The first thing to know about motion blur in Blender is that currently (v2.82) there are limitations with EEVEE, the real-time render engine. Although motion blur works if you want to blur due to a moving camera, you cannot blur based on moving objects. Since I want to test moving objects, I had to change the render engine to Cycles.

Continue reading “Blender Motion Blur”

Building a Chest of Drawers

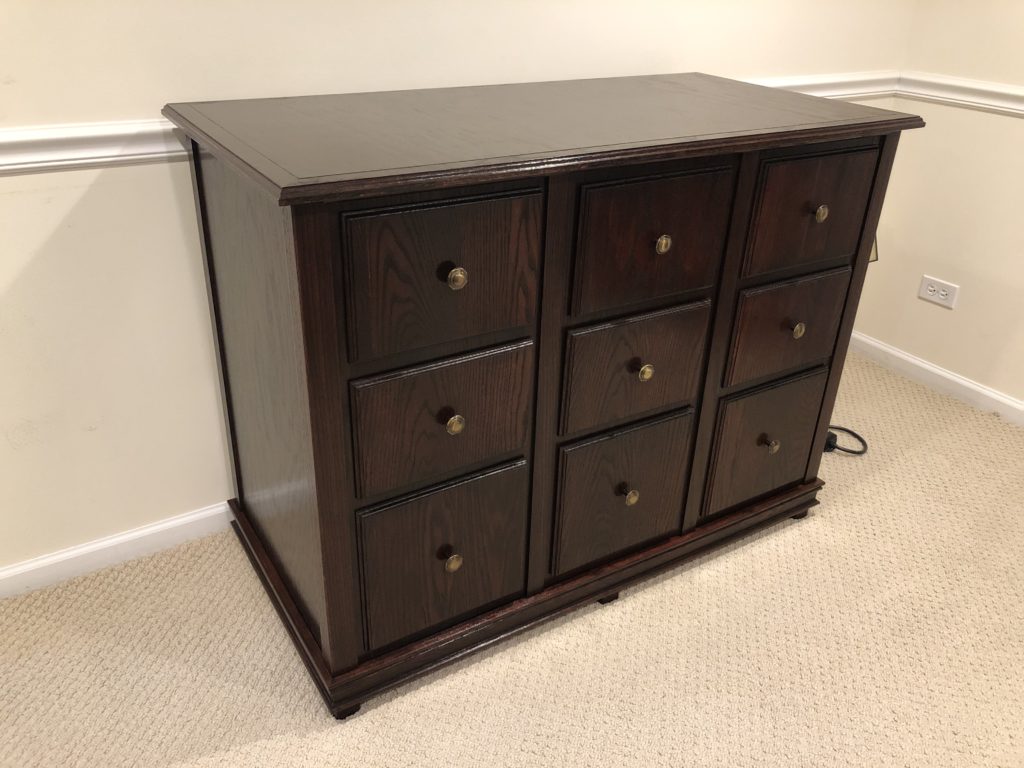
A long, long time ago, I posted that I bought some materials to build something new. Finally, after more than a year, I finished that project: a chest of drawers built from scratch!

This is the first piece of fine woodworking I’ve done, and I am very proud of the finished result!

As I mentioned in the original post, I started with red oak plywood and boards. The vertical posts in the corners and between each column of drawers is solid wood; so are the drawer fronts, the trim, and the border around the top of the chest. The rest is plywood, although I tried to hide all of the edges of the plywood.

Continue reading “Building a Chest of Drawers”

Raspberry Pi Fax Server Using Twilio

The weather here in the Midwest has been brutally cold and snowy, which has been preventing me from getting much work done on my woodworking project I mentioned a few weeks ago. I normally use my garage for cutting larger pieces of wood, but my garage has frequently been below freezing and often covered with salty sludge.

But I have at least finished one project: I needed to come up with a way for my wife’s new office to receive faxes even though she switched to Twilio SIP for phone. The solution I came up with uses a Raspberry Pi, custom Node.js code, and Twilio Programmable Fax for a (very) low-cost fax server that both receives incoming faxes and has a web interface for sending faxes.

The final result is available on github. Installation is a multi-step, manual process. And received faxes are stored in a Maildir format so that multiple computers can access the files through POP3 (which is probably not how everyone wants to retrieve received faxes). But the code is open-source and easy to modify, so it could be tweaked to meet your requirements if you need an inexpensive way to send and receive faxes without an actual fax machine connected to an old-school phone line.

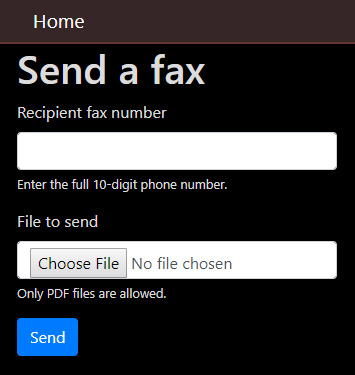
Fax server web interface
Example web interface for sending a fax.

If you install it for yourself, let me know what you think!

Building Again

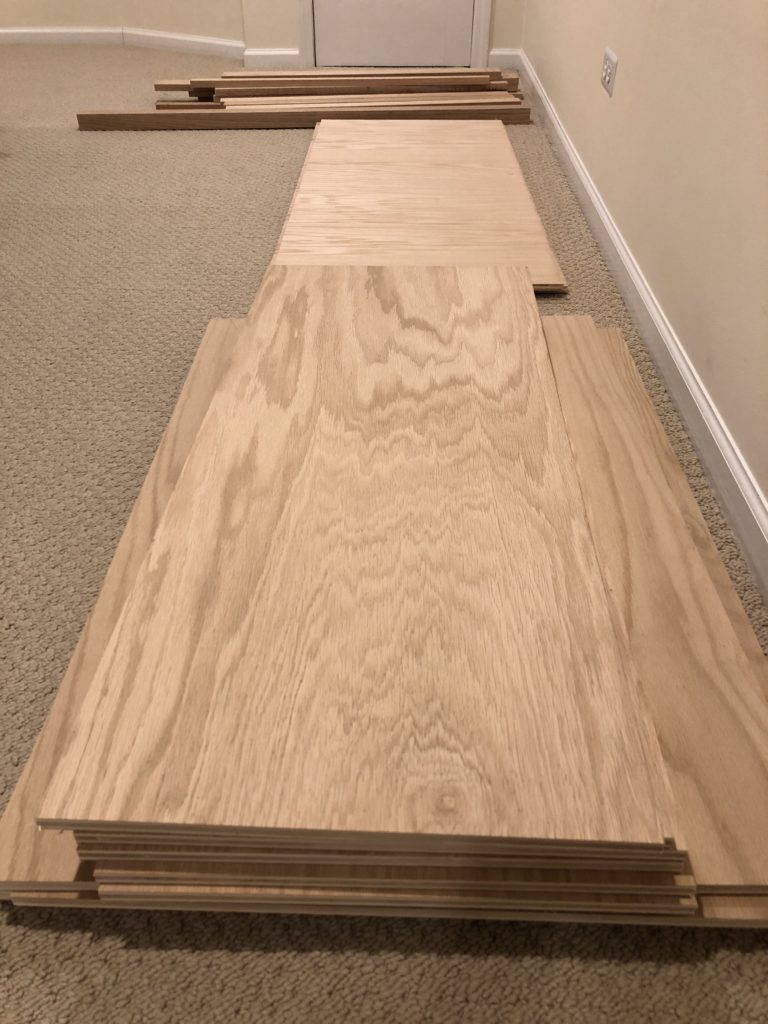
I finally have some free time again to spend on fun personal projects! I decided to try something a little more ambitious with woodworking, and I just bought all the wood I need.

Red oak plywood and boards.

The lumber yard pre-cut the larger pieces for me, so I could easily fit it all into my car. But since I was not sure of the exact final dimensions, I will still need to trim many of the pieces to an exact size before I can put anything together.

I have already started working this project, and I’m enjoying using my tools again! Stay tuned for updates on what I’m making!

Back to Making

I know, it’s been a while since I’ve been around here. In fact, it’s been a while since I’ve been able to spend any time making things at home. I have been busy with work, and that has prevented me from spending any time on the hobbies I love.

The biggest problem over the last six months has been my commute. Traveling an hour each way to work is bad enough. But it has also thrown off my sleeping schedule, so I feel tired when I actually find some free time. And if I’m tired, then I’m not motivated to do much.

Fortunately, that will change in the very near future. Within the next month, I plan on switching to a 100% remote work situation. The hours I’ll gain back each week will be great, plus I’ll actually be well-rested and motivated to start some new personal projects.

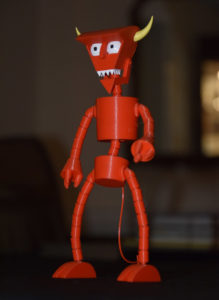
To get a small taste of my old maker hobby, I decided to browse Thingiverse for a 3D model to print. And I ended up printing this:

Click for full-size image.

This poseable model of the Robot Devil from Futurama was a lot of fun to print. And to make painting the eyes easier, I printed out this improvement from another Thingiverse member.

I look forward to having more time to make things on my own again. Although I enjoyed printing and putting together a pre-built model, I miss designing and building things from scratch.