I started playing around with Blender 3D around the time 2.80 came out last year, and I am very impressed with the software. Although I haven’t dedicated enough time to it the last six months, I’m starting to focus more on learning the ins-and-outs of the software.
I’ve gone through some tutorials (including the entire donut tutorial, which I highly recommend if you’re trying to learn the software), so I feel pretty comfortable with the basics. Now I’m starting to play around with miscellaneous features, which will also give me more practice in the software. I plan on posting some of my experiments with Blender features here, as I learn about them.
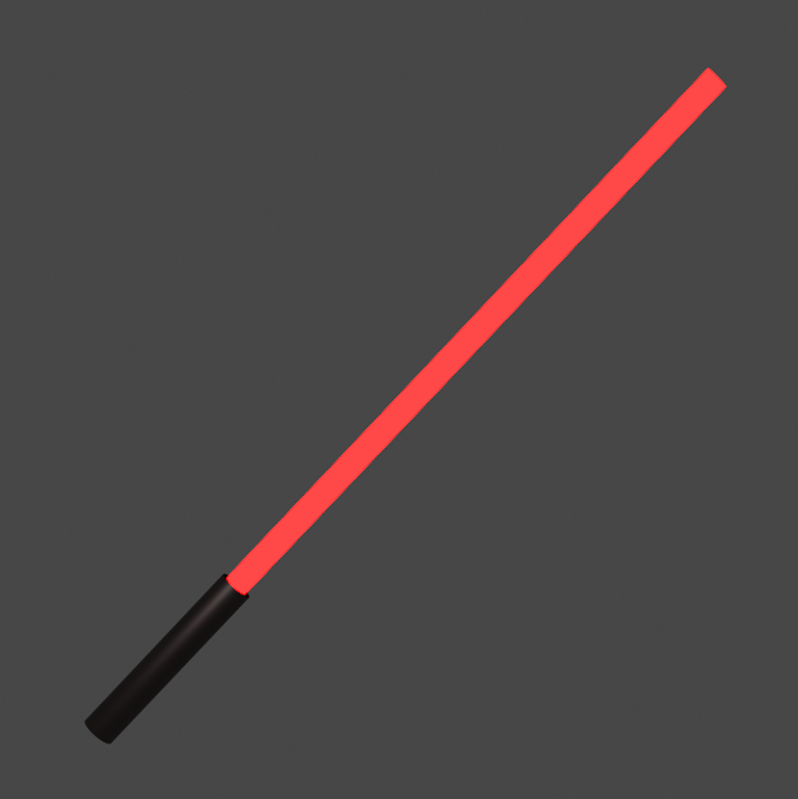
First up: motion blur. This feature is pretty simple to play with, so I set up a very basic scene. It’s basically a light-saber, with a simple black handle and a cylinder “blade” with an emission shader.
The first thing to know about motion blur in Blender is that currently (v2.82) there are limitations with EEVEE, the real-time render engine. Although motion blur works if you want to blur due to a moving camera, you cannot blur based on moving objects. Since I want to test moving objects, I had to change the render engine to Cycles.

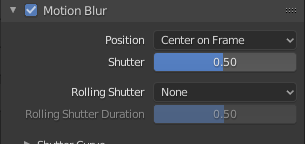
Once you switch the engine to Cycles, all of the motion blur settings are in the Render Properties tab. If you enable the Motion Blur tab, you can edit the settings.
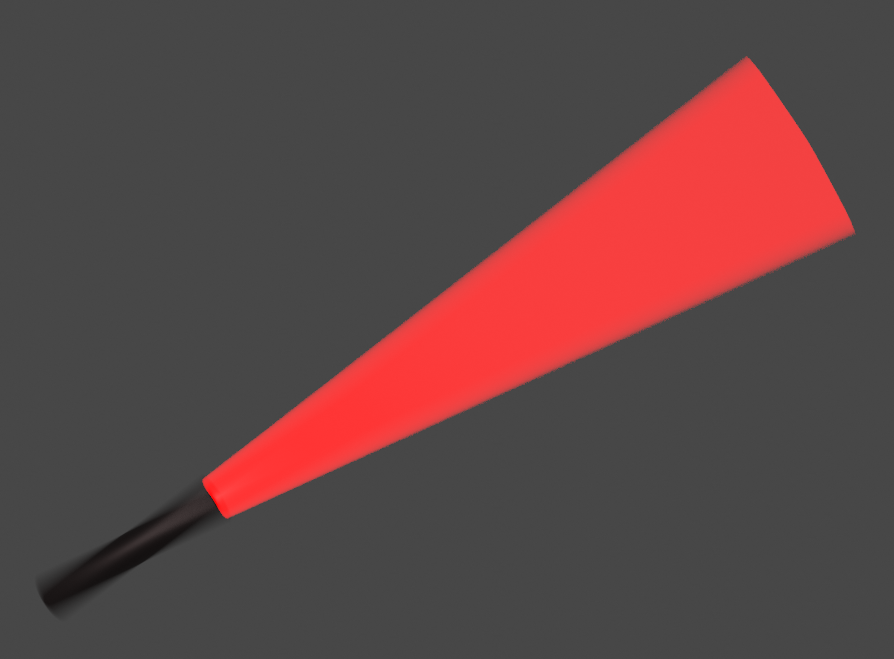
The default settings will work well and give your moving objects a nice blur. The higher the Shutter value, the more blur is added to moving objects. You’re telling Blender to keep the shutter “open” for a longer percentage of the frame, so most of the movement is captured.

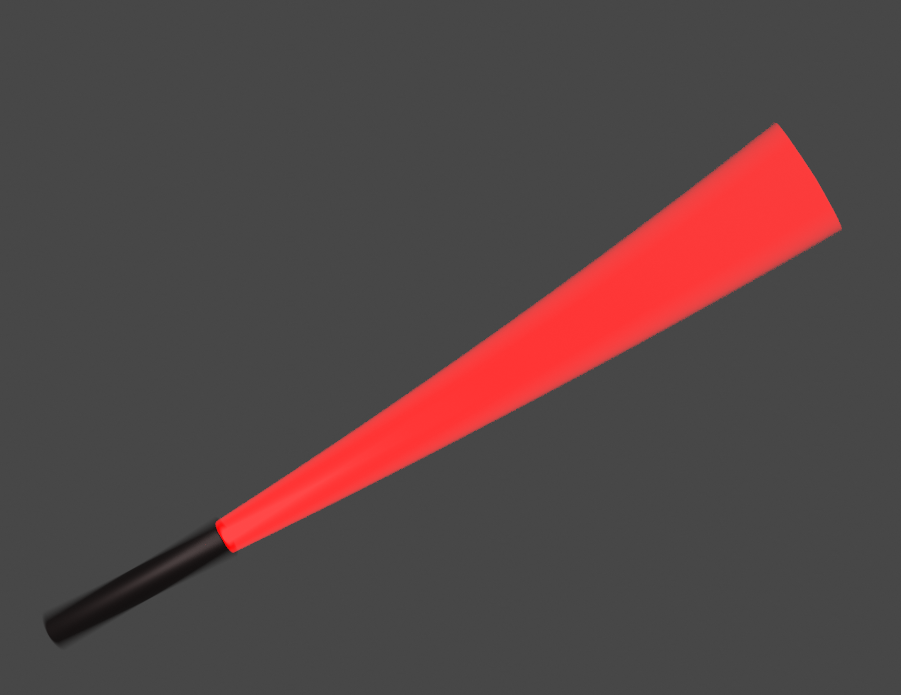
If you enable the Rolling Shutter, that gives a more interesting effect. It mimics the behavior of some real cameras, where a shutter rolls open and then rolls shut, all in the same direction. Because of that roll, different parts of the frame are exposed at different times. So that means that the top of the rendered image is blurred by mixing with positions earlier than the current frame, and the bottom of the image is mixed with positions later in the frame.

As you can see in this example where the blade was swinging down (with the handle as a pivot), there is a curve to the motion blur. Higher parts of the blade are “captured” by the virtual camera first, so they are just a little earlier in the swing than the bottom of the blade.
I’m enjoying playing with the Blender and I look forward to getting better at the software. I’ll continue to post details about some of my learning experiments!

