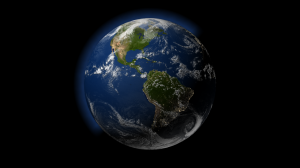
This is the second part of my series of tutorials showing how I created a model of the Earth. If you missed part one, I showed you how to create the simple model and add the basic color/bump image maps.
Create the Ocean Surface
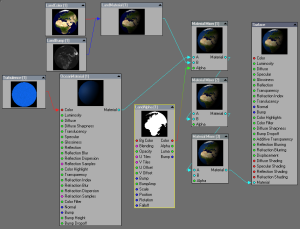
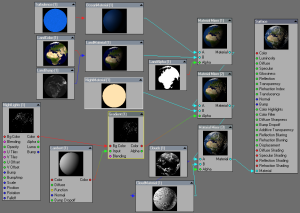
- Copy and paste the LandMaterial node. Rename it to “OceanMaterial”. Edit the properties of the material and set the Diffuse to 40%, Translucency to 5%, Specular to 8%, and Glossiness to 12%.
- Create a new “Turbulence” node (3D Textures->Turbulence).
- BG Color: 20, 108, 255
- FG Color: 10, 90, 200
- Scale X, Y, Z: 5mm, 5mm, 5mm
- Connect the “Color” output of the Turbulence node to the “Color” input of OceanMaterial.
- Connect the “Material” output node of OceanMaterial to the “A” input of “Material Mixer (1)”
- Copy and paste the “LandColor” node. Rename it to “LandAlpha”. Open the properties and change the image to the earth_map_alpha.jpg file.
- Connect the “Color” out of the “LandAlpha” node to the “Alpha” input of “Material Mixer (1)”.
- If you run a new render, you will see the new material applied to the oceans. Reduce the clutter of the node network by minimizing the ocean textures.
Create the Cloud Surface
- Copy and paste the LandMaterial node. Rename it to “CloudMaterial”. Set the Luminous to 1.5%, Translucency to 90%, and the color to 255, 255, 255.
- Copy and paste the “LandColor” node. Rename it to “Clouds”. Open the properties and change the image to the clouds_greyscale.jpg file. Set the “Bump Amplitude” to 400%.
- Connect the “Bump” output of “Clouds” to the “Bump” input of “CloudMaterial”. Connect the Material output of CloudMaterial to the “B” input of “Material Mixer (3)”.
- Connect the “Color” output of Clouds to the ““Alpha” input of “Material Mixer (3)”.
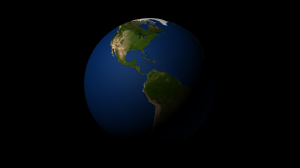
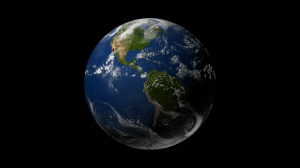
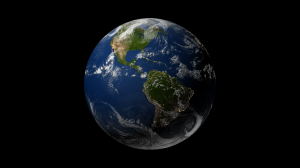
- Now your render will show a cloud layer around the earth.
Add Night Lights Surface
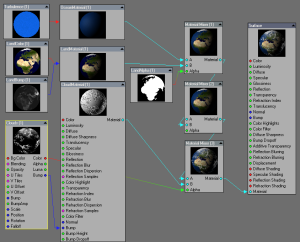
We are going to add some node logic to only show the night lights in the dark parts of the earth.
- First, copy and paste the LandMaterial node. Rename it to NightMaterial. Set the Luminous to 100%, Diffuse to 0%, and the color to 255, 227, 176. This will be the color of the city lights. Connect the “Material” output of NightMaterial to the “B” input of “Material Mixer (2)”.
- Copy and paste the “LandColor” node. Rename it to “NightLights”. Open the properties and change the image to the earth_lights.png file.
- Create a “Lambert” node (Shaders->Diffuse->Lambert). This node will provide information on how much light is reaching each point on the globe. Set the color to 255, 255, 255.
- Create a “Gradient” node (Gradient->Gradient). Connect the “Color” output from NightLight to the “BG Color” input of Gradient. Connect the “Color” output from Lambert to the “Input” input of Gradient.
- Open the Gradient properties and add the following keys:
- Position: .4083, Color: (0, 0, 0), Alpha: 0%
- Position: .5882, Color: (0, 0, 0), Alpha: 100%
- Finally, connect the “Color” output of Gradient to the “Alpha” input of “Material Mixer (2)”.
In the final part of this tutorial series, I will show you how to add an atmospheric glow to the scene.
