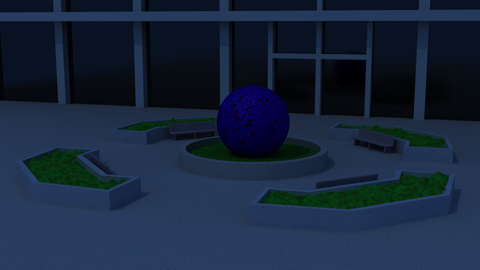
Last week I created a basic outdoor scene and created multiple lighting setups for different times of the day (and night). You can see a simple clay render of the scene in my “LightWave 3D Clay Render Tutorial”. Below is a simple radiosity render after I textured the objects.
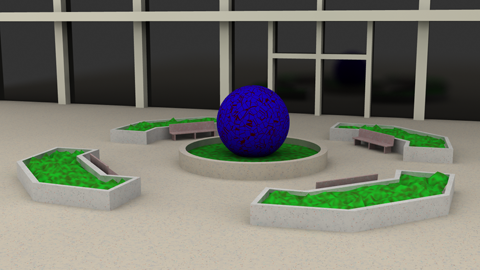
Using this exact scene, I used different lighting setups to give the feeling of morning, noon, sunset, and night. All scenes use the same textures/surfaces.
Update, November 2, 2013: I posted an addendum with the light and background settings I used to create these renders.
Morning
For morning light, I used warm-hued light coming in from the side. The intensity of the sun isn’t as bright as mid-day, but it is the second brightest of the scenes I rendered. The rest of the fill light is from Final Gather radiosity cast from a light-blue background.
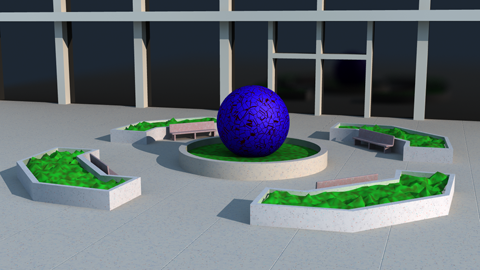
Middle of the Day
The mid-day sun is overhead, slightly warmer than white, and set to a high intensity to create harsh shadows. I still use a light-blue background with radiosity to fill in the shadows, but the intensity of the radiosity is slightly lowered to accentuate the brightness of the sun.
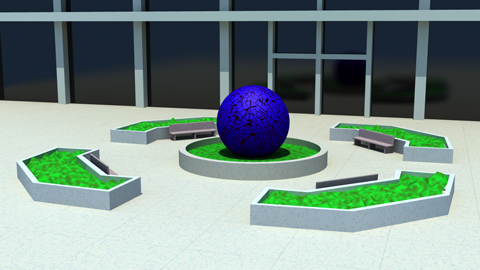
Evening/Sunset
The evening sun is a very warm yellow-orange and angled to come in from the side, casting long shadows. I created a very large ball with the polygons facing inward and used it as the sky for casting radiosity onto the scene. The “sky ball” uses a gradient to set the color to red by the sun, going through orange, yellow, blue, and finally purple at the east side. By setting the surface luminosity to 100%, it cast some interesting fill lights onto various parts of the scene.
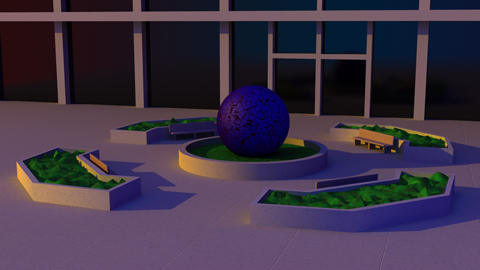
Nighttime
Most of the light in this scene comes from the dark blue sky radiosity. I also added a low-intensity pale yellow light in the sky to use moonlight, to create additional depth to the scene.
